- Go to All Pages > Tickets > Ticketing Overview
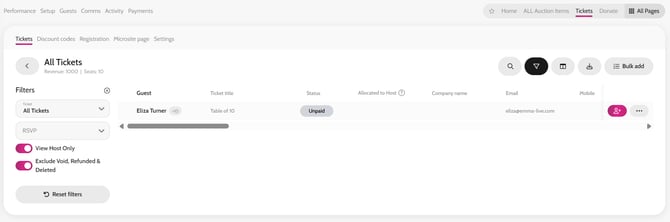
- Click All Tickets
- Search for the table host or the guest with multiple tickets
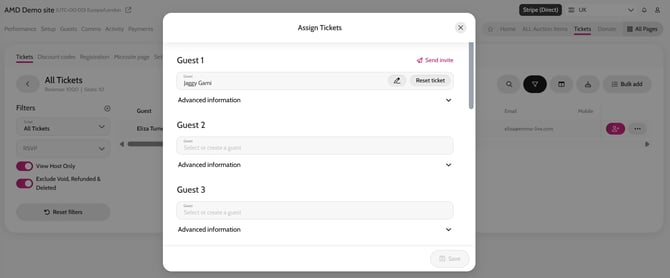
- Click the Missing Information Icon (pink +) next to the table host’s name
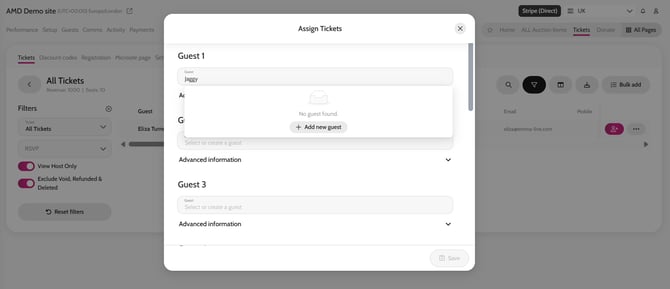
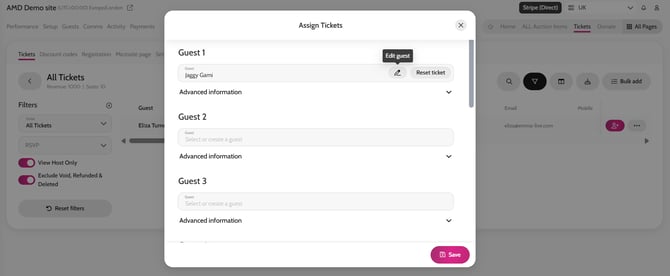
- Choose the Guest you would like to edit and start typing the new guest's name
*If you the guest already exists in the system, you can select them from the dropdown. If this is a new guest, then click on +Add guest
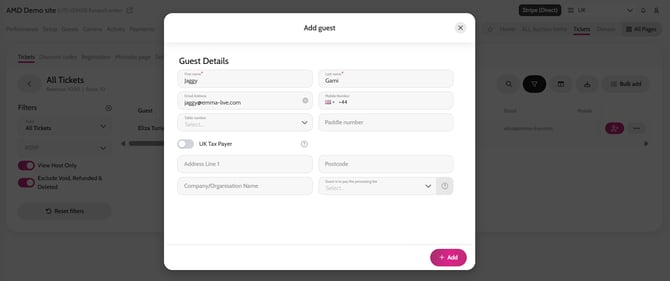
*You can simply enter a guest’s First and Last Name. You can also add an email if you have this information.
- Click Add
- If you have added a guest’s email address, you can click Send Invite, to invite them to the event. They will then be able to add their own dietaries and registration information.
Adding Dietaries / Registration Information on behalf of a guest
Once you have assigned the guest to the ticket, you can also add their dietaries (or additional registration information), simply follow these steps.
- Click the Edit Guest pencil icon
- Add the dietaries, or additional registration information
- Click Save
This short video will walk you through the full process of manually adding a table host to the event, assigning them a table ticket, entering guest details on the host’s behalf: Video
Search for the Table Host or Lead Purchaser
Adding a new guest to the ticket
Adding registration information on behalf of the guest
Send Invite